Quick Start
Just follow the instructions in the README at the project's repo on GitHub!
For a more detailed walkthrough, keep reading.
After Install
The first time you visit your site after installation, it will look like this →

This is the default display with no posts, and no changes to the default settings. The blog's name is SMPLog, the header just has a grey background, and there are no posts.
Admin Area
Log In
The first thing you should do after getting SMPLog running is add /admin to the end of your address bar and hit Enter.
This will take you to the admin login page, which looks like this →

SMPLog always has one admin user, with the username and password set to admin.
Dashboard
Use this account for your first login, and you will see a page like the next image. This is the Dashboard, the default page when an author logs into SMPLog.
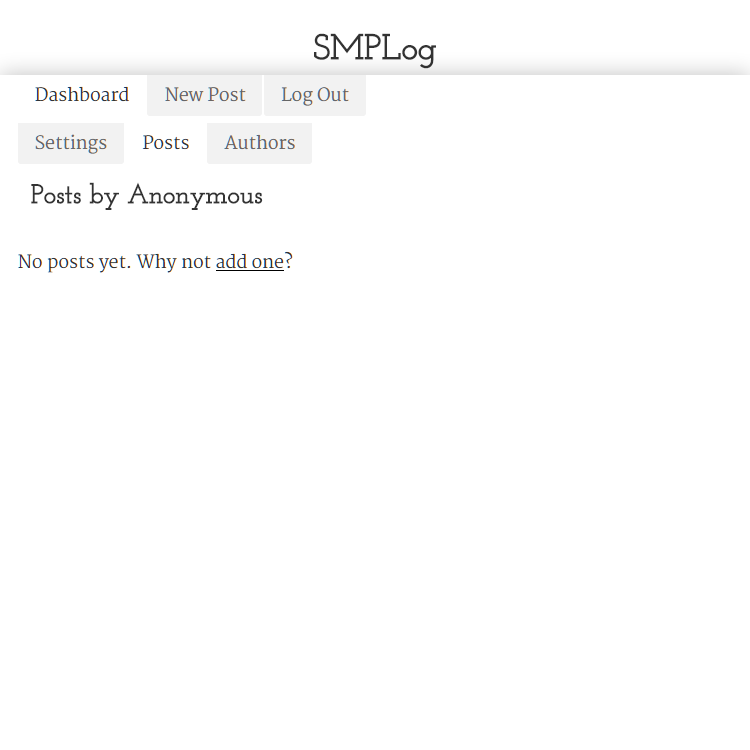
It always starts at the Posts tab, so you can manage your writings directly. Of course, there's nothing here yet.
Admin-Only Tab
As the admin user, you have an additional tab that is not available to standard users: the Authors tab. This tab allows you to create new accounts and remove existing accounts.
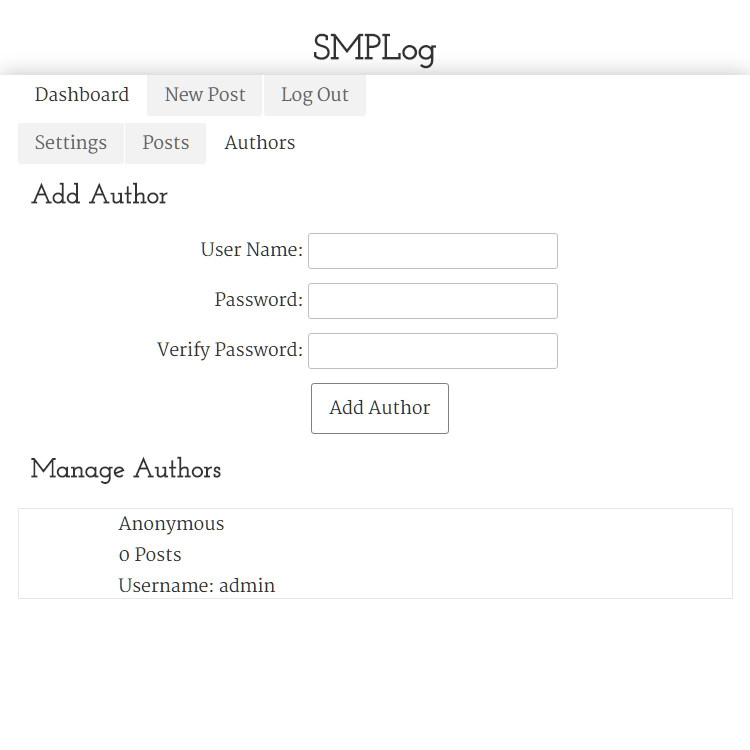
As you can see, there is only the admin user to start. The display name defaults to Anonymous, which you can change by going to the Settings tab.
We'll come back to this page once we've taken care of the site settings.
Settings
On the Settings tab, you also have an additional section that does not appear for standard users: the Blog Details form.
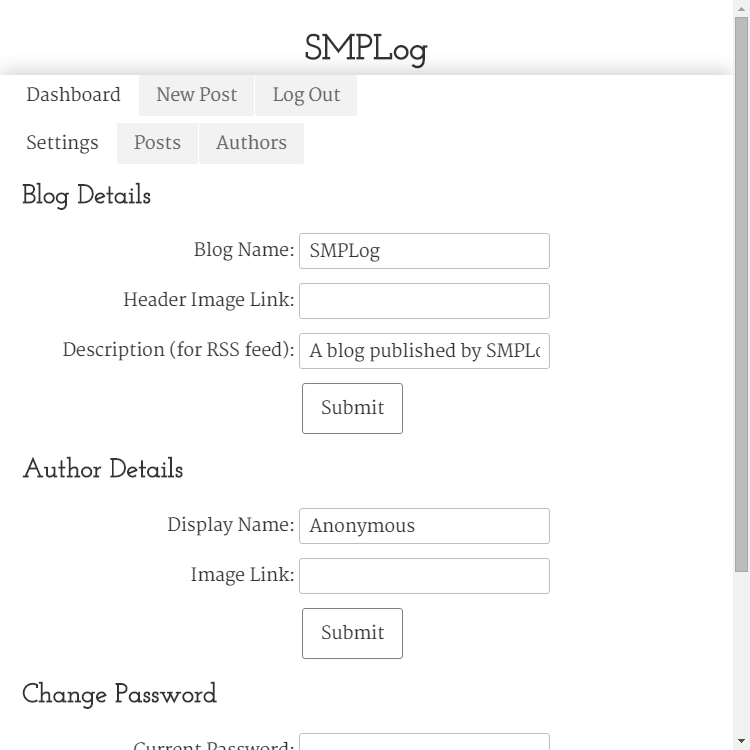
This is where you can set the name of your blog to something other than SMPLog (if you want to). You can also set an image link to be displayed behind the site header.
The description is used in the RSS feed for your blog, so make it something that describes your feed to possible readers.
The Author Details form is where you can set the name that is displayed when the admin user creates a post. You can also set an image link for the various author displays across the blog.
Last, but certainly not least, is the Change Password form. Go ahead and change the default password if you haven't done so already.
Here you can see what it looks like after updating the various settings for the blog and the admin user.
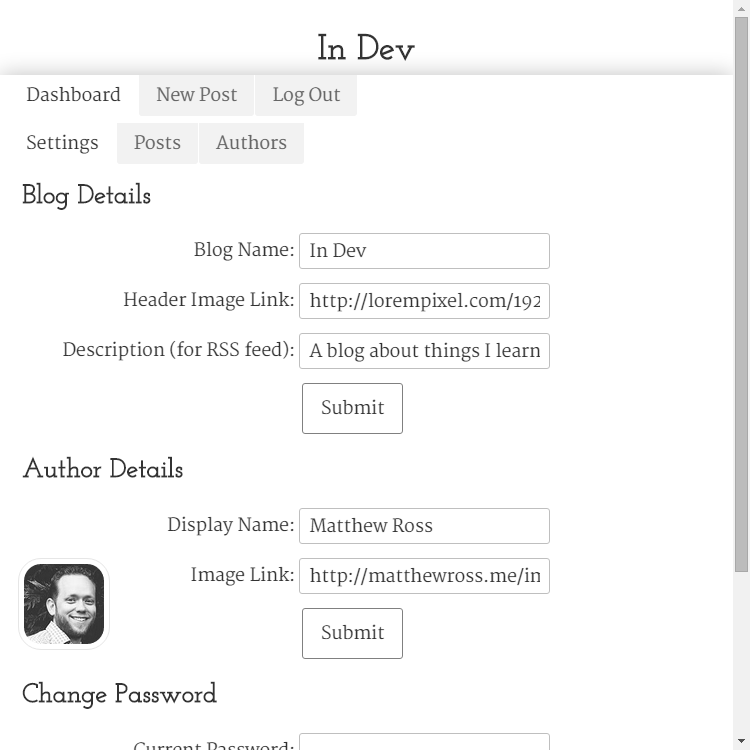
Notice that the title in the header has changed to match the new settings. All further screenshots will reflect these new site settings.
Adding Authors
Now that the site settings are taken care of, let's get back to that admin-only tab for adding additional authors. Of course, this is entirely optional, so skip this step if you are the sole author on your blog.
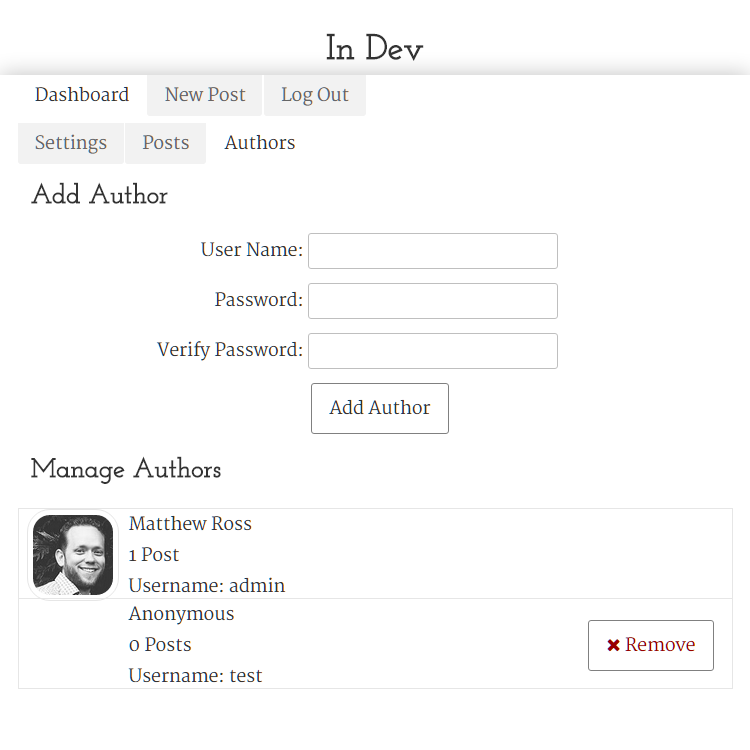
All you have to do is enter a username for the new user (it must be unique for each user). Then enter a new password (twice to make sure) and you have a new user.
The only restriction on passwords is that they cannot be empty. There are no silly restrictions about letters and numbers and whatnot. If you want a secure blog, use a good password.
As you can see, I have added a second author with the username of test. All new users start with the same default display name of Anonymous and no set author image.
To update these settings, log in as the new user and go to the Settings tab (as above).
New Post
Now that we've gone over all the settings, let's get some content onto the site!
This is what the New Post tab looks like when you first open it →
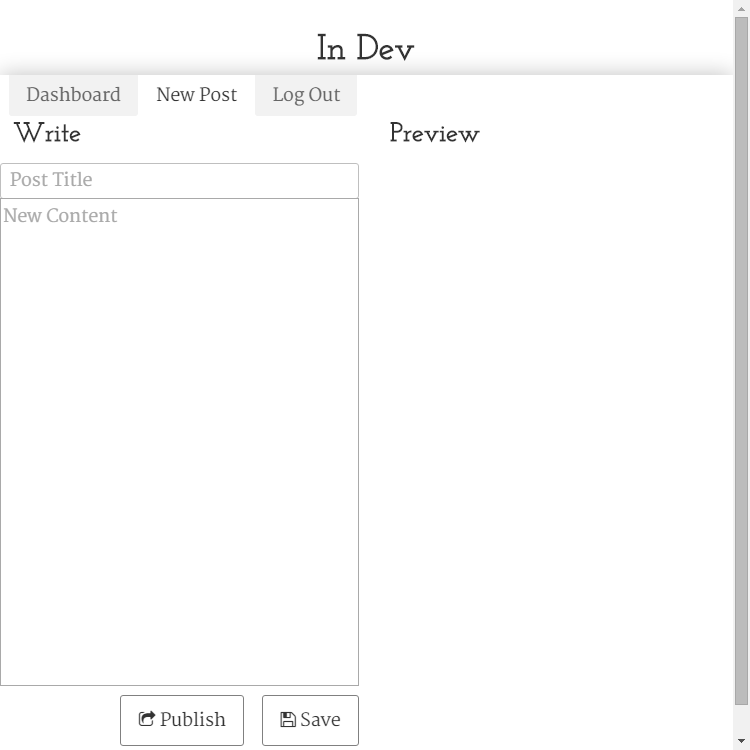
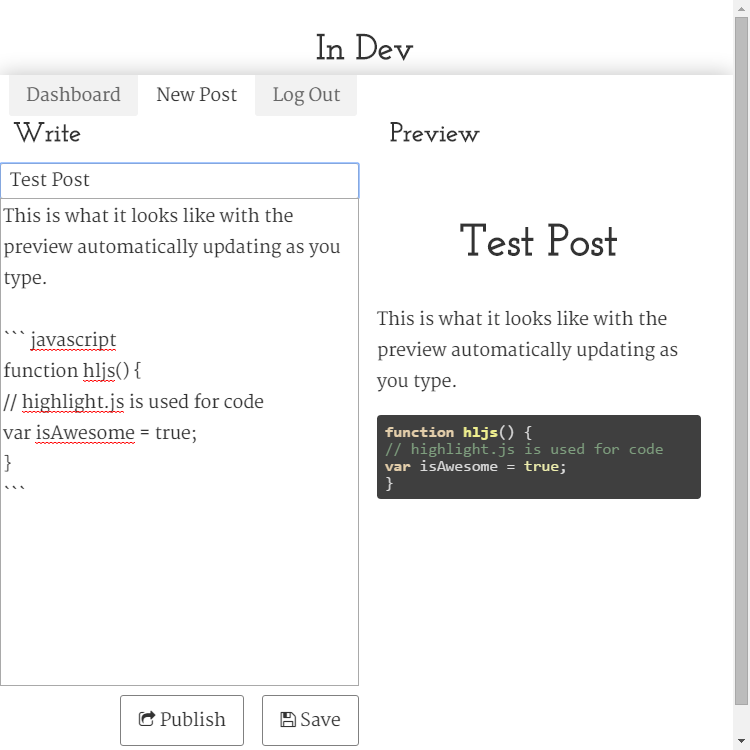
As you type into the form on the left side, the Preview pane automatically updates to show you how the markdown you write will be seen by visitors to your blog.
When on mobile devices the writing form is the first thing you see, and scrolling down (swiping up?) will bring the Preview pane into view.
The Save button does exactly what you think it should. Use it often to make sure you don't lose any work.
The Publish button sets the post to a published state so it can be seen by readers. When used, it clears the form so you can start on a new post.
Posts (Again)
Now that we have some content (and updated settings) the Posts tab on the Dashboard looks a bit different.
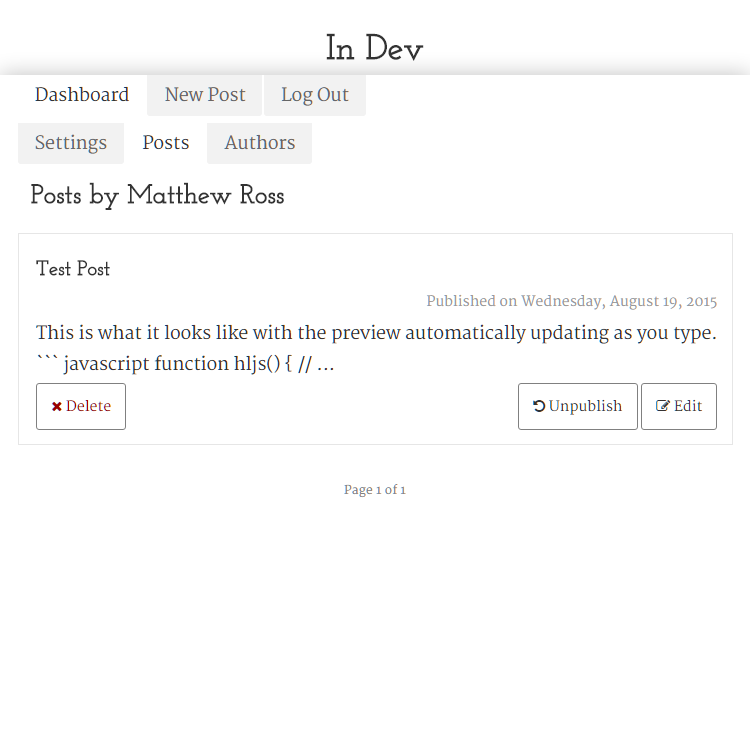
Posts are listed (both published and unpublished) with buttons that allow you to change the publication state, edit the post, or delete the post.
Editing a post uses basically the same setup as a new post, with the exception that the Publish button does not reset the form. Instead, it changes into an Unpublish button should you change your mind and want to continue editing.
Go ahead and log out to see what the site looks like now that the settings have been updated and some content adaded.
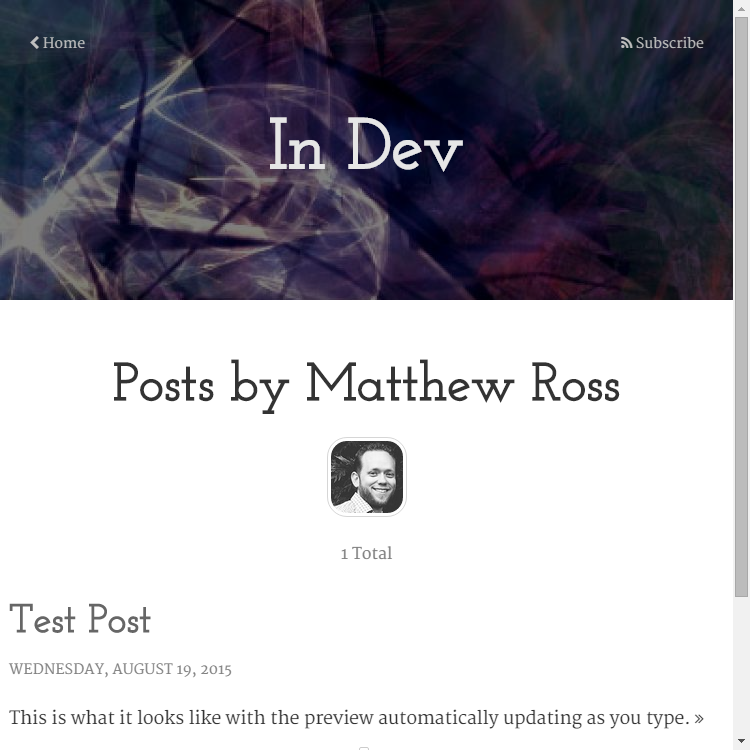
Customized Blog
Now that there is a post, and the settings have been updated to give the blog a new name and header background, things look a fair bit different than they did at first.

As you can see, posts are paginated. The posts are shown five per page, with the most recent first.
Post View
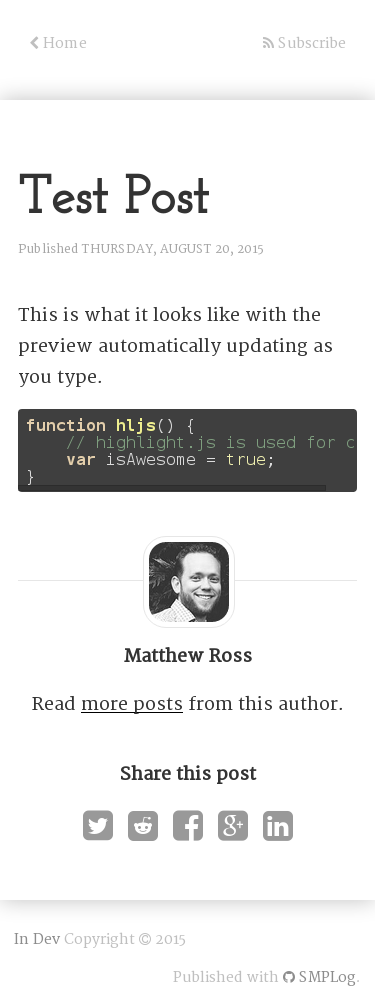
Clicking the post title, or the right angle brackets at the end of the text, will open the post for reading.
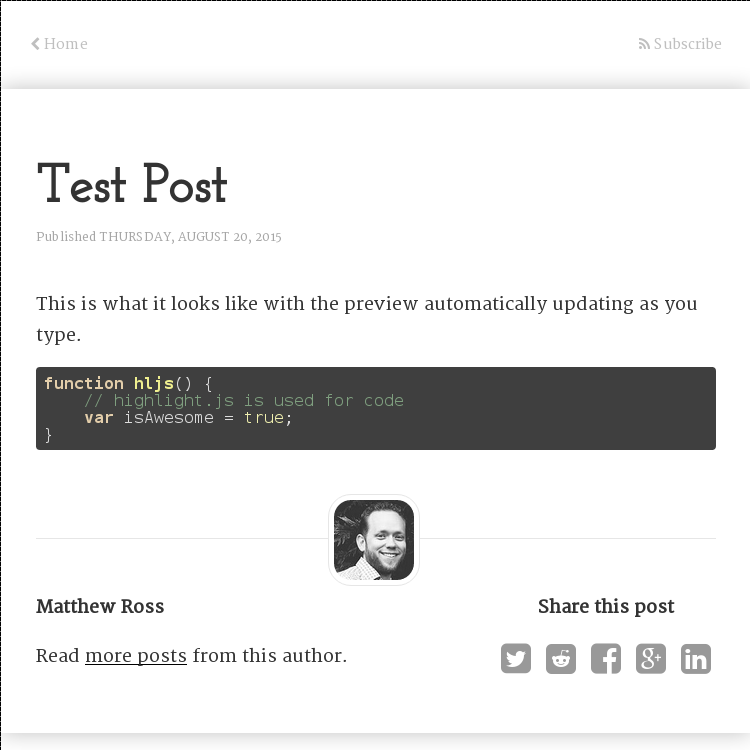
The styling aims to provide a minimalist reading environment to reduce distraction to the reader.
After the post, the author's image (if set) and name are displayed, as well as several links for sharing the post on various social media.
Posts by Author
Clicking the author's name, or the 'read more' link, will open a page listing out all posts by the author.
Enjoy!
That pretty much covers it. If you have any questions, or find an issue, please let me know on the GitHub repo for SMPlog .
One last thing: SMPlog was created to work well on any device. Here's how it looks on a smartphone screen: